Direct UV printing · process, print areas and examples
UV printing on
LEGO® bricks.
How does a multicoloured design end up on a small plastic surface? Find out how UV-curable ink is used on original LEGO® bricks, which print areas are suitable and what matters when printing fine lines, photos and text.
-
UV light Cures the ink
-
Direct printing Colour on the part
-
Print area Tailored to the design
The process explained simply
How does
direct UV printing work?
Direct UV printing applies special ink in fine droplets to the intended surface of the brick. UV stands for ultraviolet light: it cures the ink during printing. This creates a solid layer of colour directly on the part.
The plastic brick already exists; printing adds the design to its surface. Unlike a sticker, no printed film is applied. Unlike engraving, no material is removed from the brick.
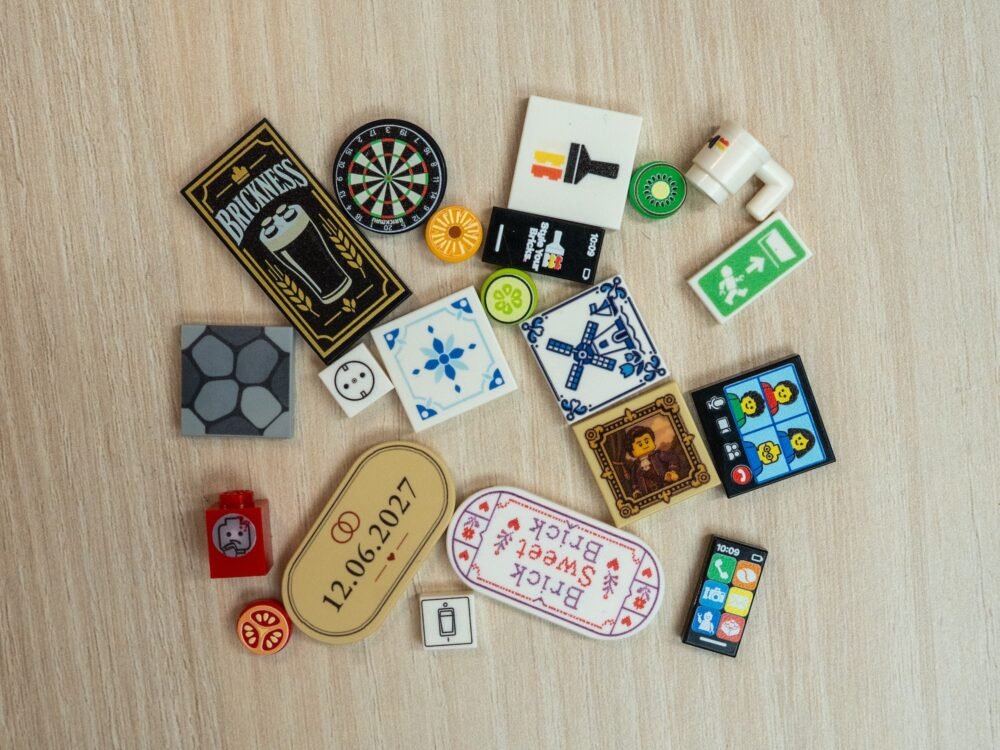
The image shows different applications of the process: compact lettering, clearly defined symbols, areas of colour and repeating patterns on small parts.
Print examples in detail
Lines, areas
and small symbols


Printed tiles, signs and small details
Ready-made designs for your building world
-
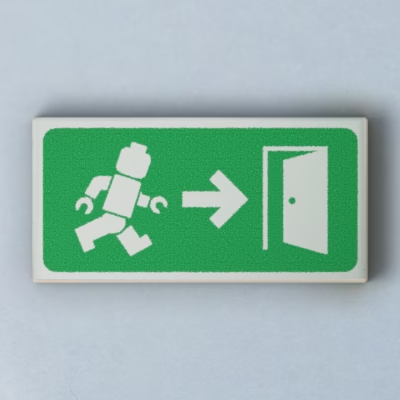
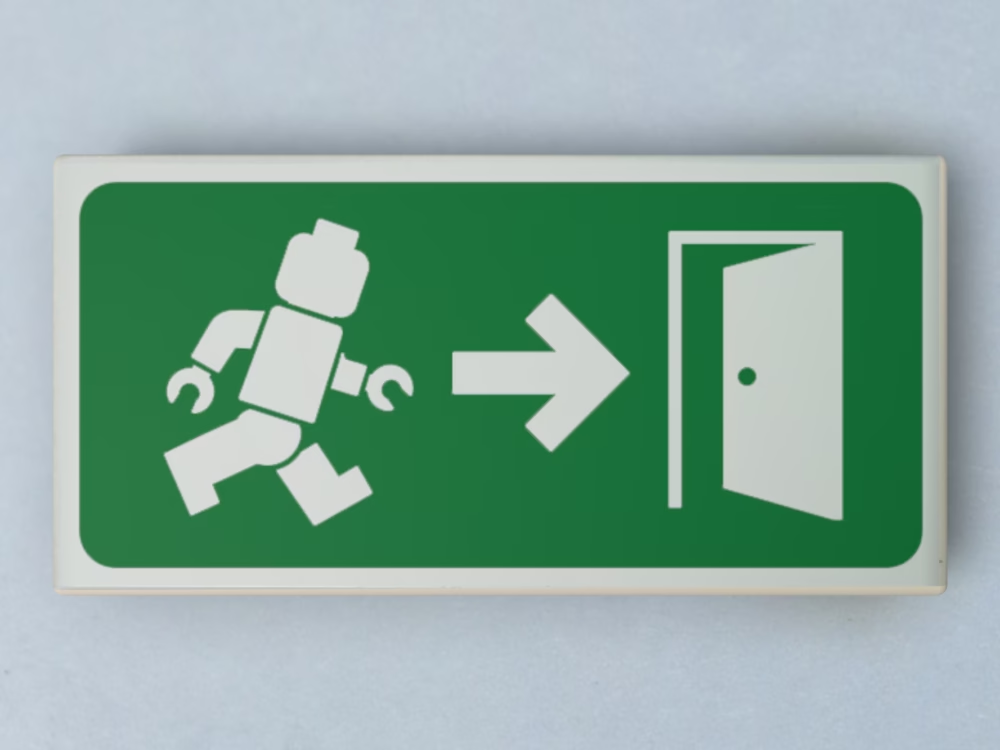
Tile, 1×2
Emergency Exit Sign€ 1,49VAT exempt*
-
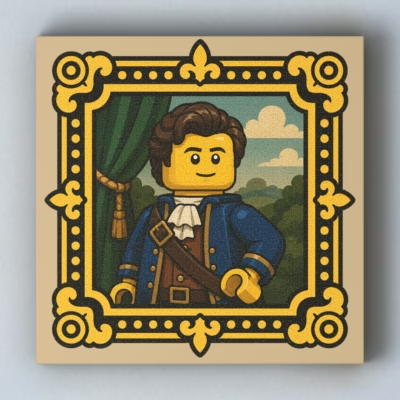
Tile, 2×2 / 3068
Framed Portrait€ 1,99VAT exempt*
-
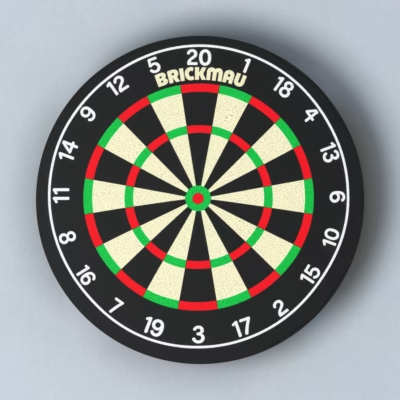
Tile, round, 2×2 / 4150
BRICKMAU Dartboard€ 1,99VAT exempt*
-
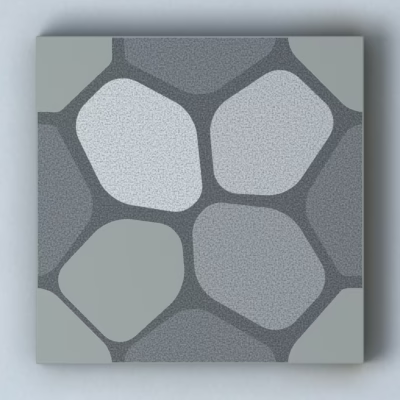
Tile, 2×2 / 3068
Cobblestones€ 0,94VAT exempt*
-
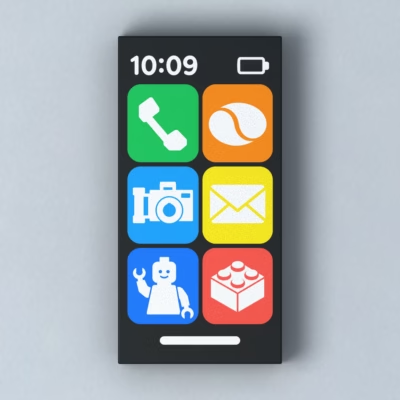
Tile, 1×2 / 3069
Phone with Apps€ 0,99VAT exempt*
-
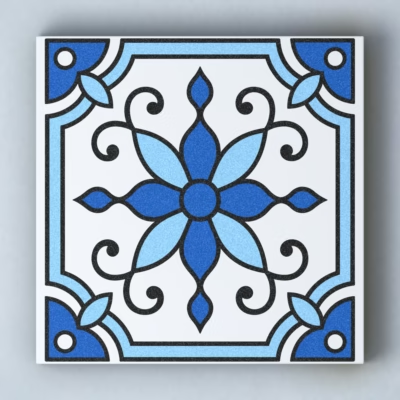
Tile, 2×2 / 3068
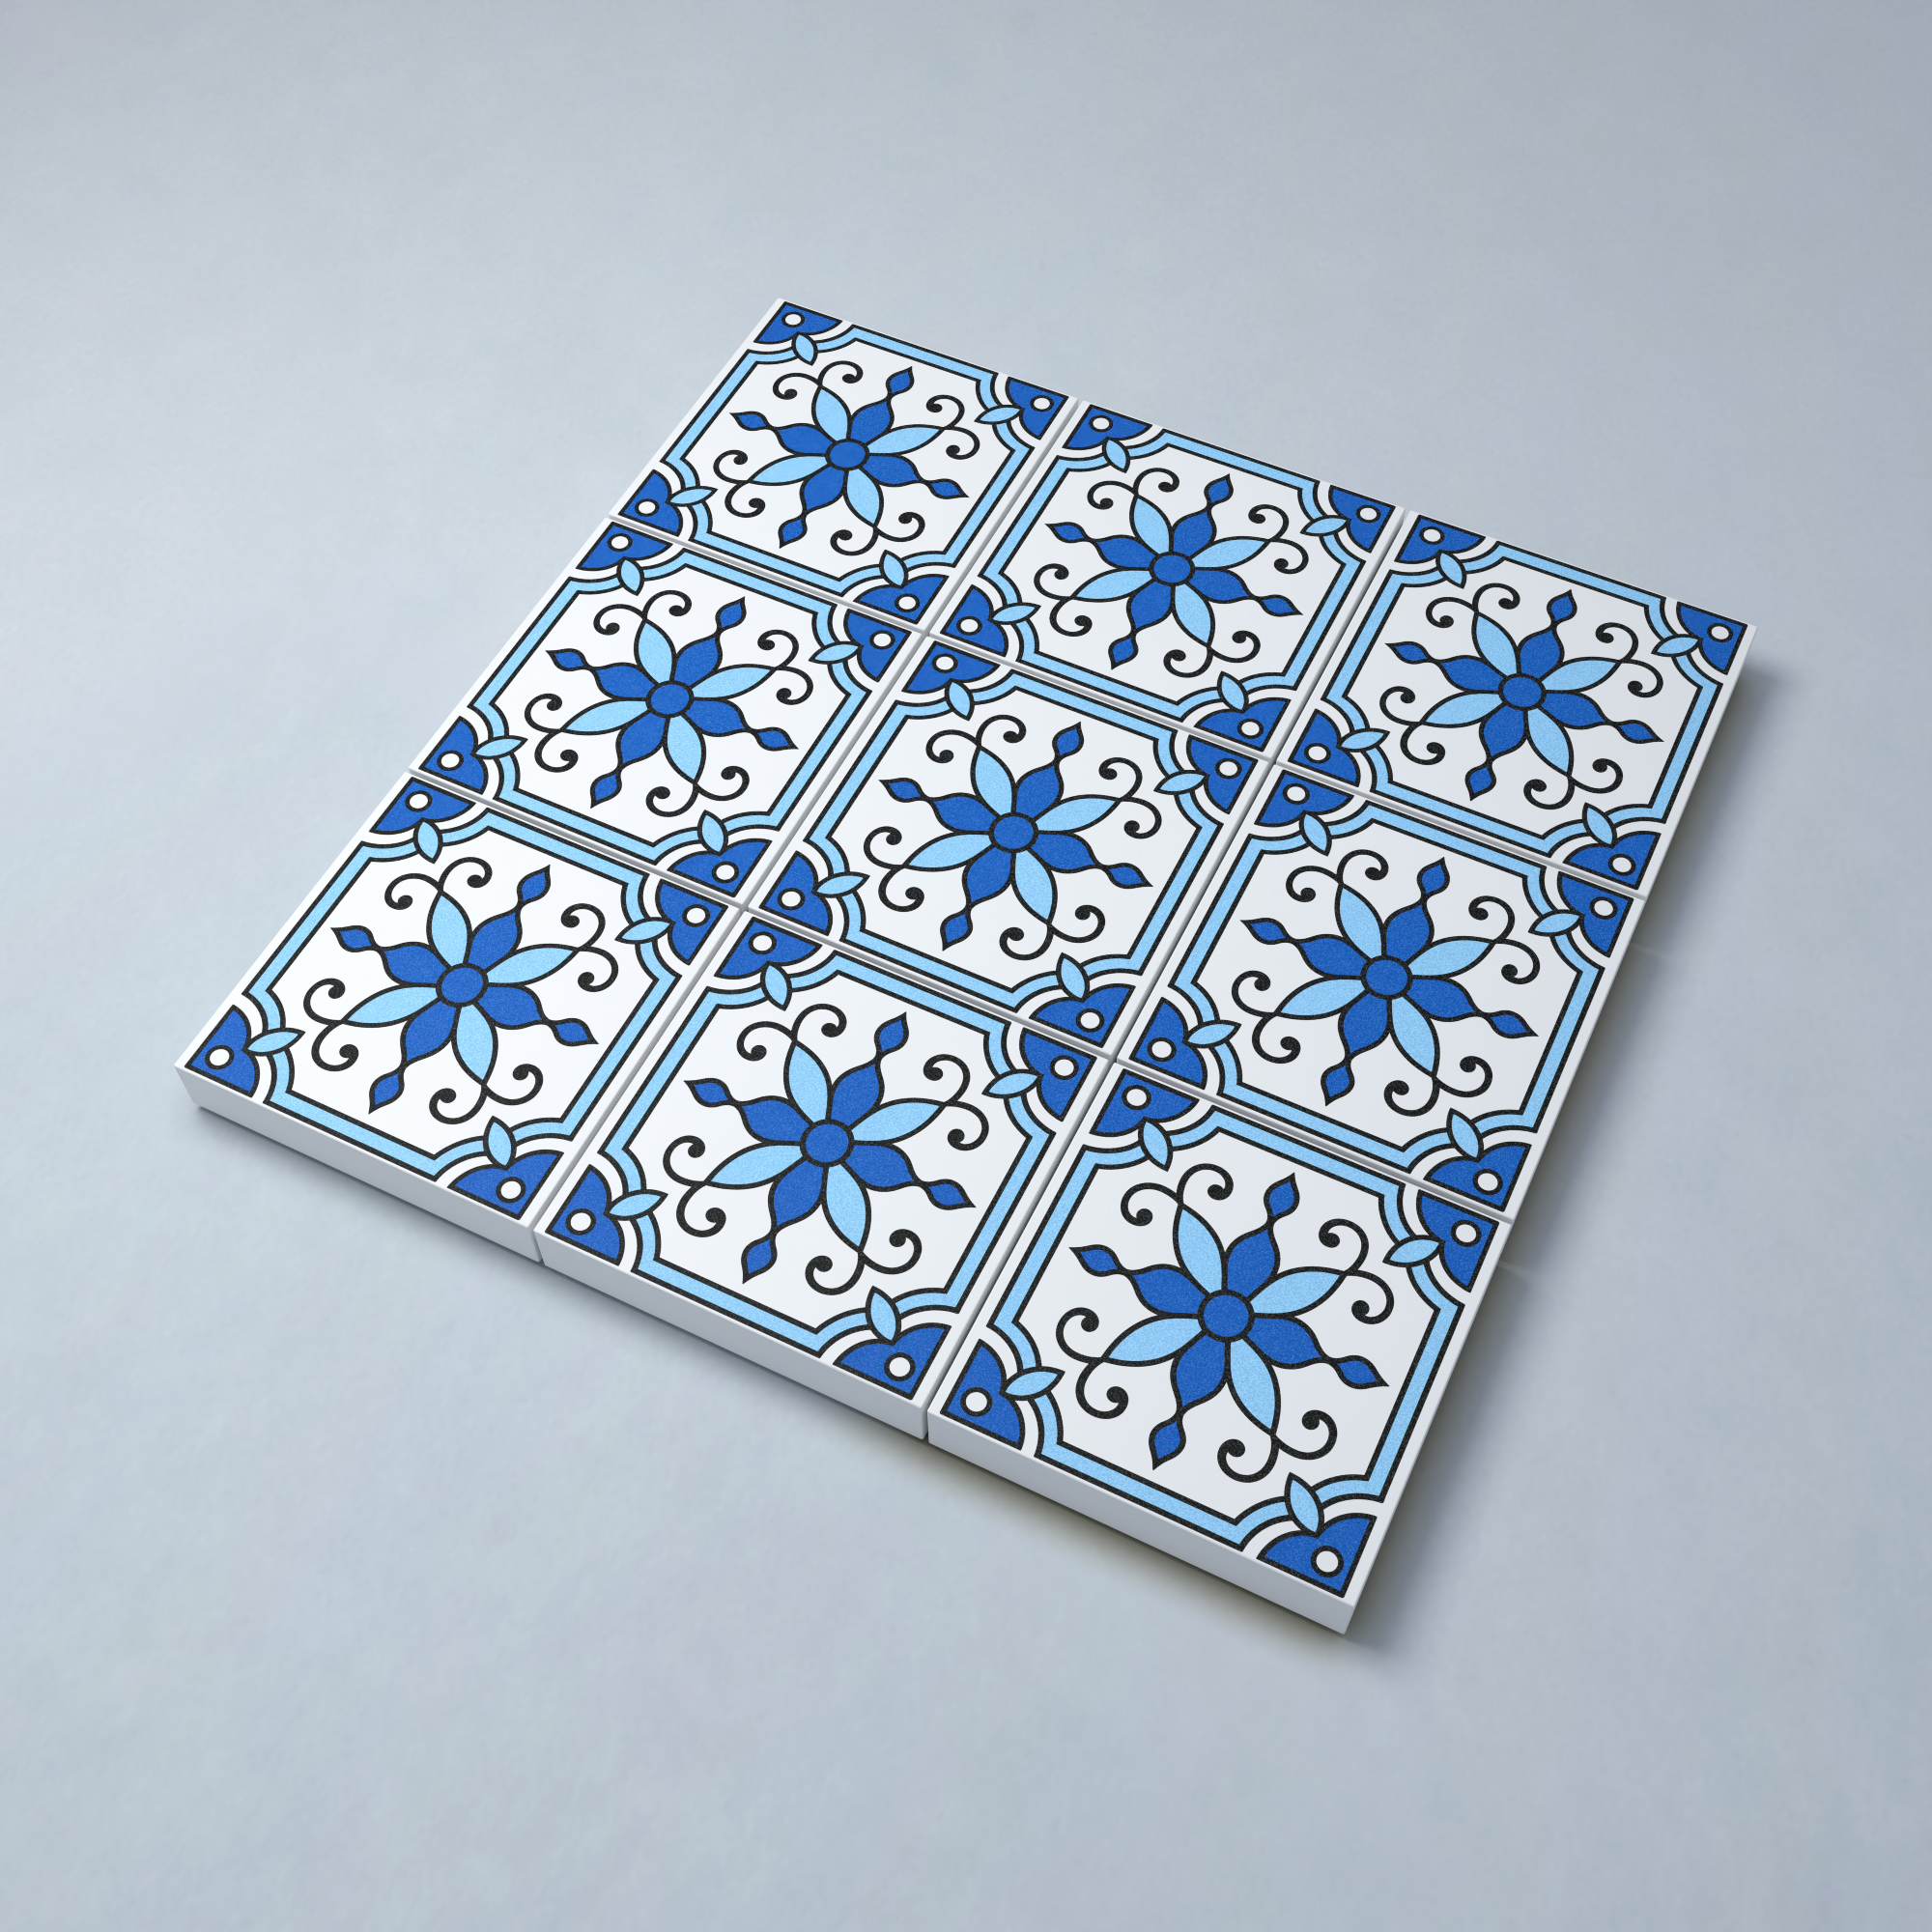
Blue Ornament€ 1,49VAT exempt*
What happens during printing
From design
to a solid layer of colour
-
Prepare the print area
The design is adjusted to the size and shape of the intended print area. The surface must be clean so dust or residue does not affect the print. Position and alignment determine where the design appears on the part.
-
Apply ink precisely
Many small droplets of ink combine to form lines, letters and areas of colour. The artwork determines which areas are printed. Unprinted areas retain the part’s original surface and colour.
-
Cure with UV light
Ultraviolet light triggers the curing of the special ink. The applied colour becomes a solid layer. Depending on the design and ink coverage, this layer may sit slightly above the smooth plastic surface.
Print quality starts with the artwork
Small print area.
Clear design.
On a small tile, the actual size of the design matters. A graphic that looks good when enlarged may lose detail at just a few millimetres. Check text, line spacing and cropping at the final print size wherever possible.
Contrast helps recognition: clearly separated colours and defined outlines make symbols readable. Very small text, closely spaced lines and busy photo backgrounds need special attention. Larger, continuous print areas are often better suited to photos than tiny individual parts.
The part’s shape, base colour and intended print area are all part of the design. Use the area specified for the product and keep important details away from its edges. For unusual surfaces or designs, we agree the details with you in advance.
Tiles, minifigure parts, QR codes and images
These parts are waiting for your design
-
Custom Design
Brick, 1×4
Brick 1 x 4- Blue
- Dark Pink
- Dark Purple
- Orange
- Red
- Reddish Brown
- White
- Yellow
- Bright Light Orange
- Bright Light Blue
- Bright Pink
- Coral
- Dark Azure
- Dark Tan
- Light Bluish Gray
- Lime
- Tan
€ 2,99VAT exempt*
-
Custom Design
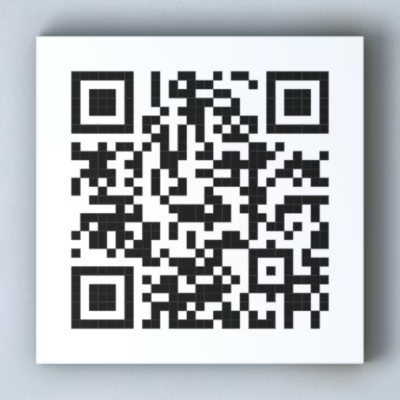
Tile, 2×2 / 3068
Your Own QR Code€ 1,49VAT exempt*
-
Custom Design
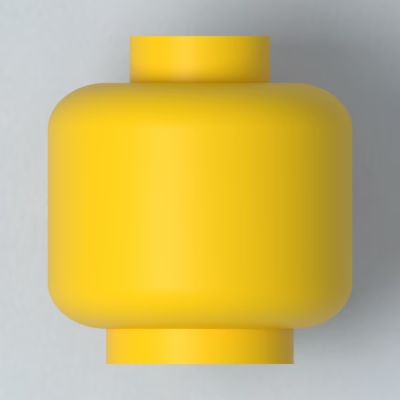
Minifigure Head, plain / 3626
Minifigure Head- Yellow
- Light Nougat
- Medium Nougat
- Nougat
- Reddish Brown
€ 2,99VAT exempt*
-
Custom Design
Tile, 2×2 / 3068
Square Tile- Blue
- Dark Azure
- Dark Grey
- Dark Green
- Lime
- Light Grey
- Medium Nougat
- Reddish Brown
- Black
- Tan
- White
€ 1,49VAT exempt*
-
Sale! Custom Design
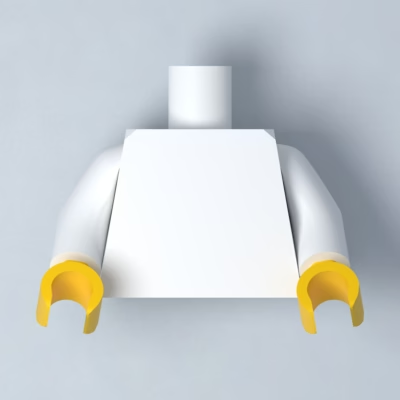
Minifigure Torso, plain / 973c000 / 973c001 / 973c002 / 973c007
Minifigure Torso- Blue
- Red
- Black
- White
Original price was: € 4,49.€ 3,99Current price is: € 3,99.VAT exempt*
-
Sale! Custom Design
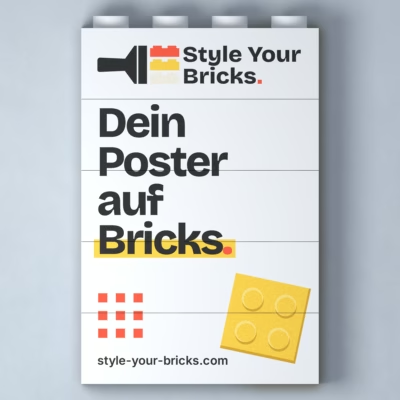
Brick, 1×4 / 3010 / Portrait
Your Poster on BricksOriginal price was: € 6,99.€ 4,89Current price is: € 4,89.VAT exempt*
Questions about your UV print
Does your design fit
the print area?
Tell us the part you want, the intended print side, the design and quantity. For very small text, images spanning several bricks or unusual surfaces in particular, we check feasibility in advance. If you already have artwork, describe its size and format.
Frequently asked questions about UV printing on LEGO® bricks
Good to know.
Before your first print
Answers about printing methods, custom designs, suitable parts and your order.
How does direct UV printing differ from a sticker?
Direct printing applies ink to the part and cures it there. A sticker, by contrast, consists of a separate backing material with an adhesive layer. Direct UV printing does not require this additional film.
Is UV printing the same as engraving?
No. Engraving removes material from the surface. UV printing applies colour to the existing surface. This allows multicoloured designs without cutting the design into the brick.
Which LEGO® parts can I have printed?
The range includes bricks, tiles, signs and selected minifigure parts. What matters is the print area intended for the particular product. The design tool shows the usable area. Please ask us in advance about other parts or special surfaces.
Can I use my own photo, name or logo?
Yes. On customisable products you can upload your design or add text. Use a sharp original file and keep small text and details clearly readable. A photo usually needs more space than a simple symbol. Always check the crop and actual size of the selected part too.
Why can a UV print feel slightly raised?
The cured ink forms an additional layer on the plastic. How noticeable this feels depends on the ink coverage and the design. A printed area can therefore feel different from the bare surface beside it.
How much does UV printing on LEGO® bricks cost?
You can find the price of each product and its selected variation directly in the shop. For individual projects, costs depend on the parts, print areas, artwork and quantity. We prepare a suitable quotation after discussing the details. There is therefore no single flat price for every printing project.
How do I care for printed parts?
Treat the printed surface with care. A soft, slightly damp cloth is suitable for gentle cleaning. Avoid abrasive cleaners, solvents and vigorous rubbing.
Who makes the bricks and who does the printing?
The original LEGO® parts are manufactured by the LEGO Group. Style Your Bricks carries out the subsequent, independent printing. We do not manufacture LEGO® products, and our custom prints are not official products or designs of the LEGO Group.
UV printing on existing original parts
Original bricks.
Independently printed
Choose a suitable print area and position your design in the preview. Clear cropping, sufficiently large details and sharp artwork are essential for UV printing.
Notice about independent printing: We do not manufacture LEGO® products. We use original LEGO® parts that have already been manufactured and subsequently print them with our own designs or yours. The custom printing is by Style Your Bricks and is not an official offering of the LEGO Group.
LEGO® is a trademark of the LEGO Group, which does not sponsor, authorise or endorse this website.
- Photo
- Name
- Logo
- Your idea